
Why Open Shot?
There are many free video editing programs promoted in the Linux community. Some of the most popular include Kdenlive, Pitivi, Cinelerra, and Lives. There are also lots of video editing programs that cost as much as one thousand dollars. We will therefore begin with why we recommend Open Shot over these other video editors. First, it is important to have a multitrack ability if you are going to add audio tracks, green room effects or just about anything else. This eliminates many video editing programs such as Avidimux that do not have a multitrack story board and can therefore only be used for simple cutting. This still leaves five main free video editors as is shown on the following table.
Comparing 5 Free Linux Video Editors
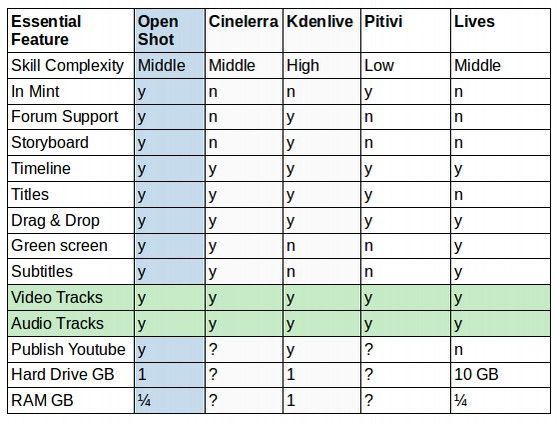
One of the first things we think is important is whether the program is in the Linux Mint Software manager. If it is, it will not only be easier to download, but we have some assurance that it has been tested and is likely to work in Linux Mint – which is the operating system we recommend using to create videos. Second, it is important to use tools that come with good instructions and have an active forum where you can ask questions.
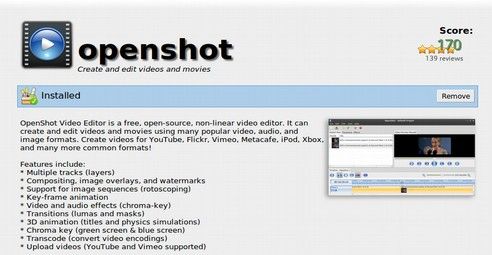
Third, we want a story board or timeline where the audio and video clips can be placed in the exact order you want them to go. We also want the ability to use green screen videos. As you can see from the above table, Open Shot is the only free video editor that has everything we are looking for in a video editor. It is a very powerful tool and worth taking the time to learn how to use. To download Open Shot, simply click on the Mint Menu, then the Software Manager. Then type Open Shot into the search box and click on it. Then click on Install.
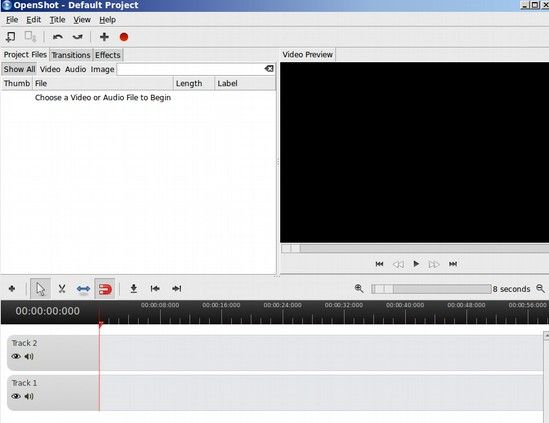
To open Open Shot, click on the Mint Menu, then click on Applications, Videos and drag the Open Shot icon to your desktop. Then click on it to open it. Here is Open Shot Start screen
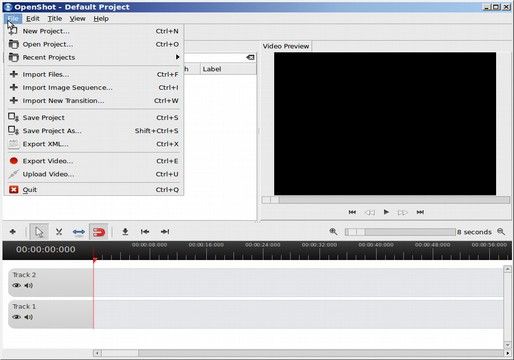
Create a New Project
Click on File, New Project to start a new project.
Name the new project and click on Desktop to place your project on the Desktop.
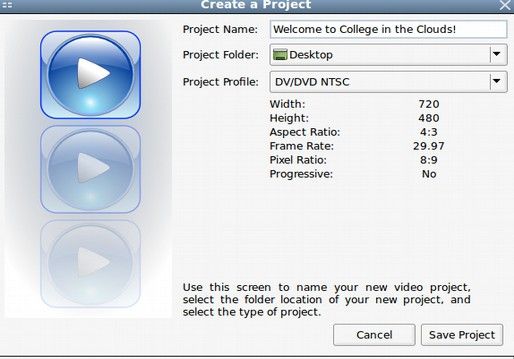
Click on Project Profile and you will see over 30 profiles. The options use the height of the recording by the Frame Rate. Since we used 1280×720 with 30 Frames per second, we will choose the HD 720p by 30 FPS option.
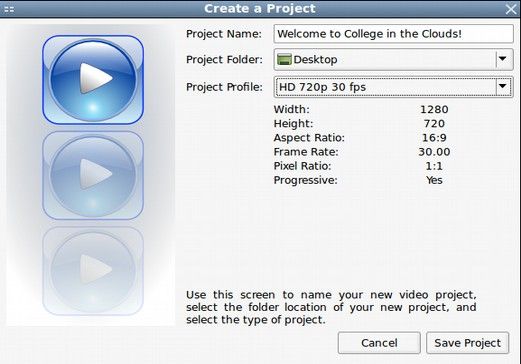
This changed the aspect ratio to 16:9 which is what YouTube uses. Click Save Project.
Import Audio and Video Files
To import the video and music files, click on File, Import File.
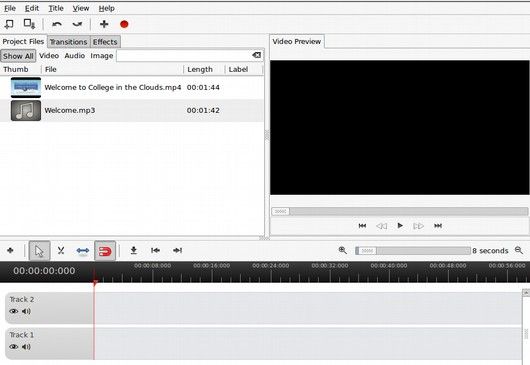
Select the files from your computer to add to the list.
Drag your files from the List to the Timeline
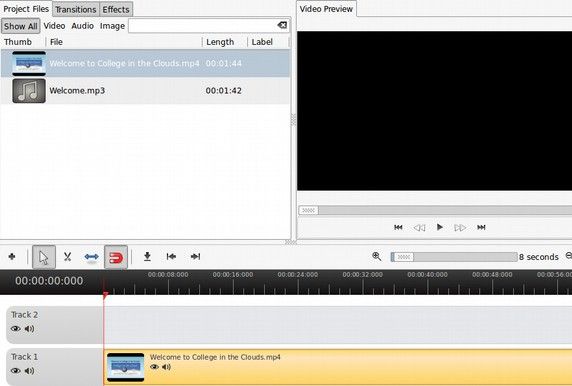
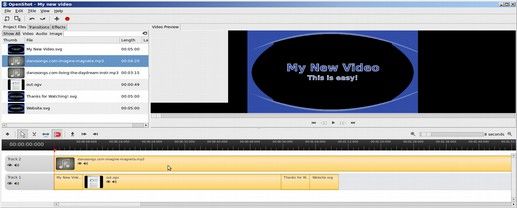
The Length column on the list shows that our video below is two seconds longer than the music. In order for them to end at the same time, we will try to start the music a second later. We will first drag the video icon down to the beginning of track one.
We will then drag the audio track to just right of the beginning of track 2. Each hash mark in the black ruler is one second. Here is the first 48 seconds of the 2 track video.

Then we click Save. Then Preview the video by click on the right arrow at the bottom of the black preview window. The sound of the music was much louder than the speech. We therefore went to the Linux Mint Control Panel, Sound Settings and lowered the output sound while raising the input sound and repeated recording the video with Simple Screen Recorder. We then loaded the new video and previewed the result.

Create a New Title for our Video
One of the many tools in Open Shot is a Title Creation tool. There is a 5 second Introduction built into the beginning of the new project. This is used to insert a title for your video. Open a new or existing video. Then click on Title, New Title to create a title.
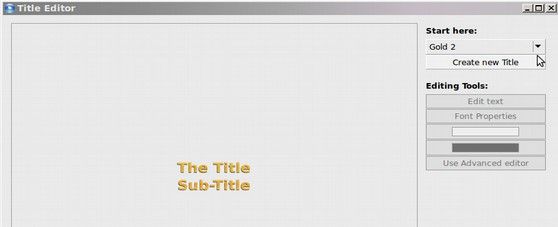
Click on the Start Here drop down arrow to choose the template you want to use. We will select Oval 2. Then click Create New Title. Then fill in the boxes.
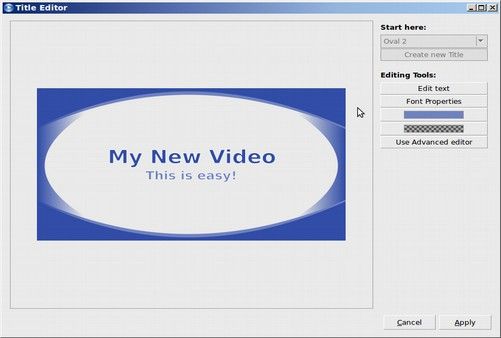
You can change the font if you want or even install a free graphics program called Inkscape to use the Advanced Editor to make more changes. Then click Apply.
Then click on File, Import File and choose a video file to begin. Then click on the Video to start it.
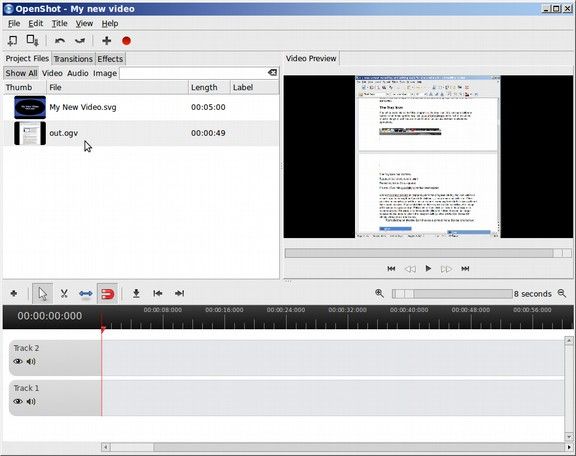
The Title starts out five minutes long. So we will need to cut most of this out. We can also add another Closing screen at the end of the video using the same tool.
To add an audio track to play with the video, first find a free audio track (usually all that is needed is to create the video at the end of the video). This is a link to thousands of options:
http://videolane.com/2011/07/free-royalty-free-music-download-sites-for-videos/
Then download the audio track by right clicking on the audio track link and then choose “Save Target As.” This should put the audio track in your downloads folder. Next in Open Shot, click on File, Import Files. This will add the audio track to the list. Next, add the screen shot video followed by a closing Title video.
Below are all of the six clips we have loaded for this project.
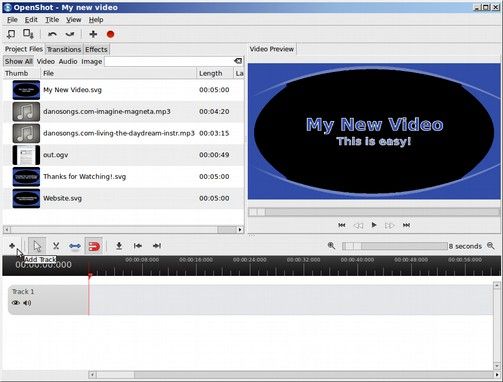
Before we add these clips to the video, we should add a second track so we have an audio track and a video track. To add a new track, click on the PLUS sign. To add a video or audio track to the project track, which is also called the Video Timeline, select the clip and drag it to the Timeline. We will put the audio on Track Two and the Videos on Track One.
The first audio track is too long. To cut a clip, use the scissors. To shorten a clip, use the blue arrows. Below is our finished video with a 5 second introduction, a 50 second video and two closing titles. In the second track, the audio track, there is an audio clip at the beginning and another audio clip at the end.
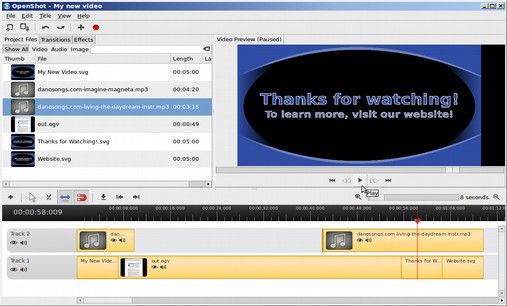
To view the video, move the red arrow to the beginning of the video tracks. Then click on PLAY at the bottom of the preview screen.
Summary of Title Editor
The Open Shot title editor has many background templates and allows you to change the font and color of your title and subtitle. You can also import a Scaled Vector Graphics (SVG) logo that can be created online or with the free Inkscape SVG program. In addition, any SVG image can be imported and used as a title. The transparent (alpha) channel will be respected by Open Shot meaning that SVG image titles can be overlaid onto any video or title sequence and the underlying video will show through everything but the SVG logo image.
Add Green Screen Chromakey Effects
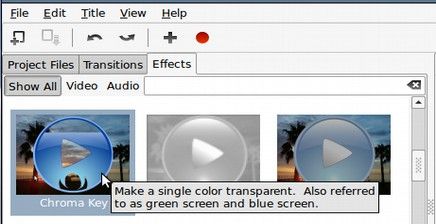
Green screen effects are created using the Open Shot Chromakey tool. First, load a video with a green screen background into a new or existing project. To reach the chromakey tool, click on the Effects tab. Then scroll down to Chromakey and click on it.
Drag this effect onto any video in your timeline. A star will now appear at the beginning of this clip indicating that an effect has been added to it.

Right click on the clip. Then click on Properties. Then click on the Effects tab. Then click on the Chromakey Effect to bring up its default properties.
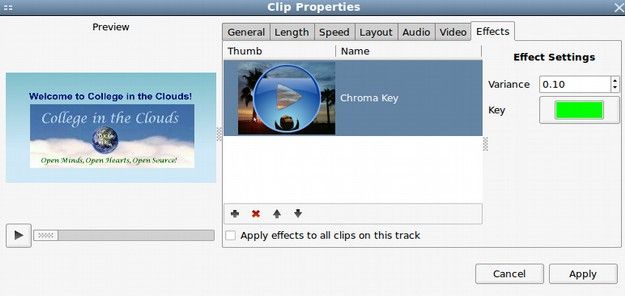
The default background color is bright green with a 10% variance allowed. You can increase the variance to 20% and this may or may not reduce any shadow effects (increase the area of the transparency). You can also choose a different color to be the transparent color. Click Apply and then preview the video to see what it looks like. It will not change the actual video so you can try different variances and colors until you get what you like.
How to Export Your Video in a YouTube Format
Once you are done adding sound tracks, title sections and closing credits and making any green screen changes, you are ready to export your video in a file format that will be accepted by YouTube without any further conversions. When you are happy with the video, click File, Project Save, to save your project. Then click on File, Export.
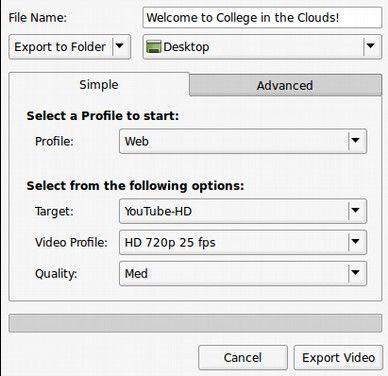
Change the Profile to Web, the Target to YouTube HD. This should set the video profile to HD 720 25 fps. You can raise it to HD 720 by 30 fps. Then click Export Video. It will take about one minute to export the video. When it is done, the Export window will disappear and the video will appear on your desktop.
Use the VLC Media Player to Check the Video Before Loading it to YouTube
You can play this finished video with sound track in your VCL Media Player to see if it sounds right. To view the video, transfer it to your video folder with the file manager, then open it with VLC Media Player. Once you have confirmed that the sound and video are looking good, go to your business YouTube account and load it to YouTube. For more information on using the Open Shot Video editor, visit their online Users Manual: http://www.openshotusers.com/help/1.3/en/
This concludes our article on using the Open Shot Video Editor. In the next article, we will review how to create a compelling video.