
Each Google Plus Account automatically comes with a free personal YouTube Channel. To reach your channel page, log into your Google Plus page or your Gmail account. Then click on the Google APPS square in the upper right corner of your Google Plus page. (Look for a square box with 9 little boxes inside of it). Then click on the red YouTube arrow to go to your personal YouTube page. There will be three small bars to the right of the word YouTube in the upper left corner. Click on the small arrow to the right of these bars.
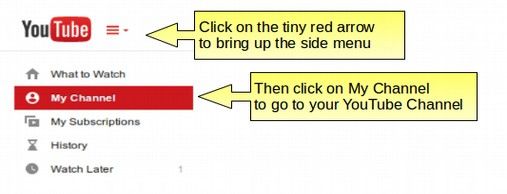
Then click on My Channel.

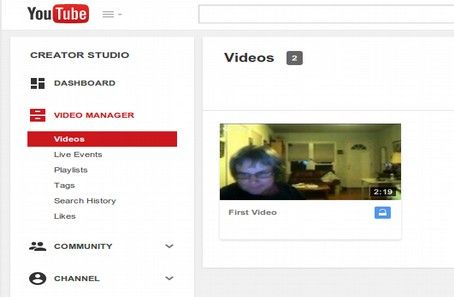
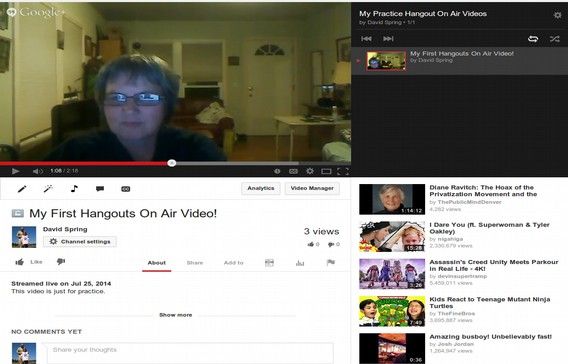
This is your Personal YouTube page. We will configure this page later. For now, let's look at our video. To see it, click on Video Manager at the top of this page. Here is what our Video Manager page looks like after loading a couple of practice videos.
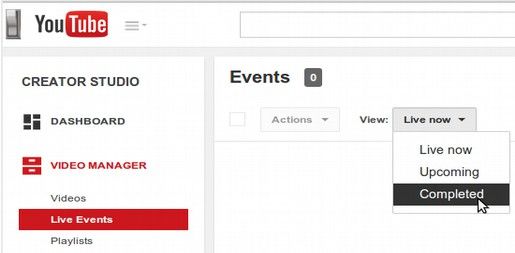
YouTube tends to hide your completed Hangout on Air videos. The easiest way to see a list of them from the Video Manager page is to click on Live Events. Then click on Completed. This will take you to your completed Hangout on Air Event videos.
Hover your mouse pointer over the video to bring up the Play, Edit and Delete icons.
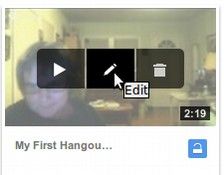
Then click on Edit. This brings up the Info and Settings page for this video. Here you can change the Title of the video in the Basic Info tab.
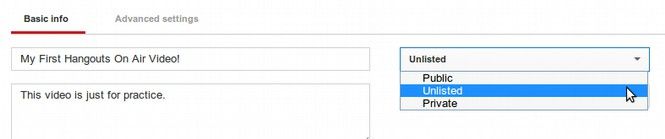
You can also decide if you want to make the video Public, Private or leave it Unlisted.
Unlisted means that only those with a link to the video can watch it. Private means that only those who are in a particular invited Google Circle can watch it.
You can also add the video to a specific Play List if you have a channel with a lot of videos. We will describe Playlists more in the next article.
Then click on the Advanced Settings Tab. Here you can place your video in a category like Education and choose all kinds of settings. Then click Save Changes.
There are also four options at the top of the Video Edit screen to edit the video. These are Enhancements, Audio, Annotations and Subtitles. First, click on the Enhancements tab.
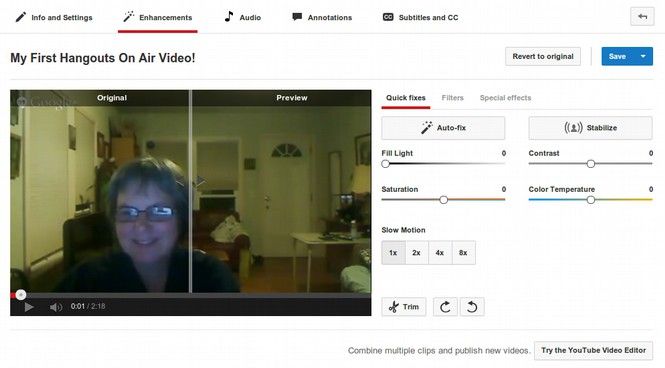
Here you can trim the video. Next click on Audio. Here you can add audio tracks.
Annotate Your Video
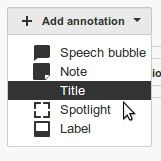
Next click on Annotations. To add an Annotation, click Add Annotation. This will bring up a dropdown menu allowing you to choose one of five types of annotations. The options include a Speech Bubble for adding text, a Spotlight for highlighting an area of the screen, a Note option for adding a note that will appear on the screen or a Title for adding a title to the top of the screen. There is also a Label option to add a label to any part of the screen. But a label will only appear when the viewer places their mouse over it.
Click on the label button to bring up a square in the middle of the screen.
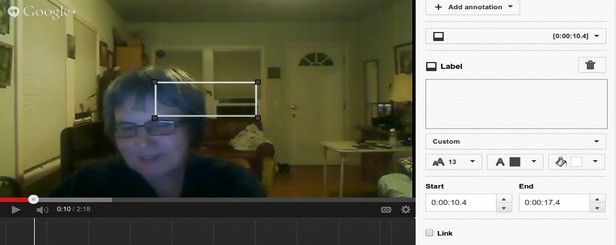
Once you have selected the type of annotation you want to add to the video, there are settings under the Add Annotation button to change the font size, color or background color of the annotation box. You can then drag the box around on the screen and change the size of the box – except that the box is not allowed to take up more than 30 % of the entire screen. You can also set when the annotation should appear and end. Then click Publish. The annotation will now appear in the Timeline below the video. Click on Add Annotation, then Title to add a second annotation. You will now see a big A in the Timeline. Time in a Title. Then add a note. Here is our three annotations in the video and on the Timeline.

You can also place a link in the video that viewers can click on to go to your website or see another video or any other location on the internet. But be aware that annotations may not show up on mobile phones or tablets. They will however show up on YouTube videos embedded into a website.
Create a Playlist
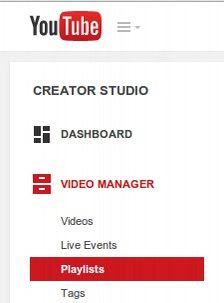
Playlists are a way of organizing your videos into categories. To create a playlist, in the video manager side menu, click on Playlists.
Then click on New Playlist.
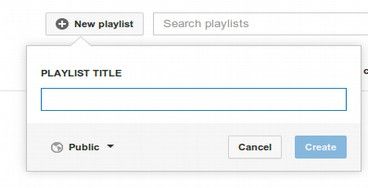
Give your Hangout on Air video a name, like My Practice Hangout On Air Videos and then use the drop down arrow to select Unlisted Videos. Then click Create.
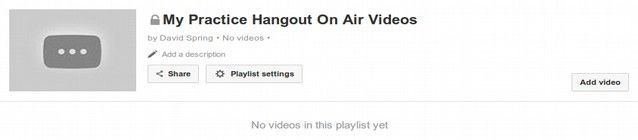
Then click Add Video. Then click “Your YouTube videos.” Then click on your video.
Then click Select.
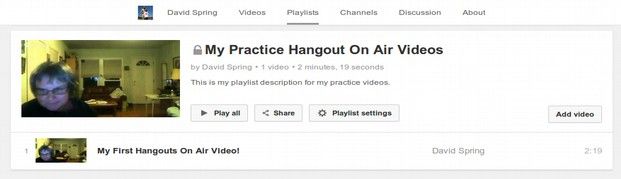
Then click on the video. This will take you to the YouTube page for this video.
You can use the link at the top of this page to embed the video to your website.
Describe Your Channel and Add Links
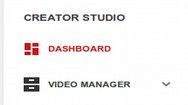
To describe your channel and add links to your website on your channel page, from your video manage screen, click on your Dashboard in the upper left part of the page.
This is an overview page that will have all of your videos and display a chart of the traffic to your videos and allow you to add information about your channel.
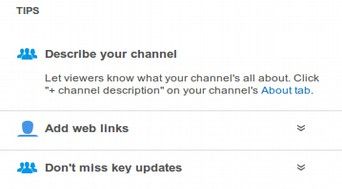
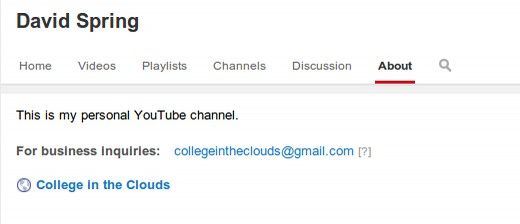
In the Tips section of your Dashboard, click on the About Tab link. The About Tab page can also be reached from your My Channel page by clicking on the About Tab.
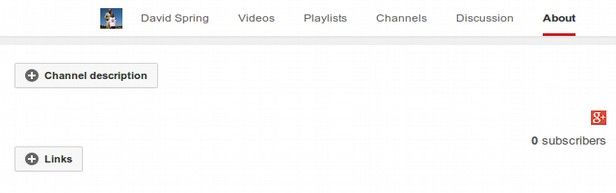
Click on Channel Description. Then add a description. Then click Done. Then click Links.
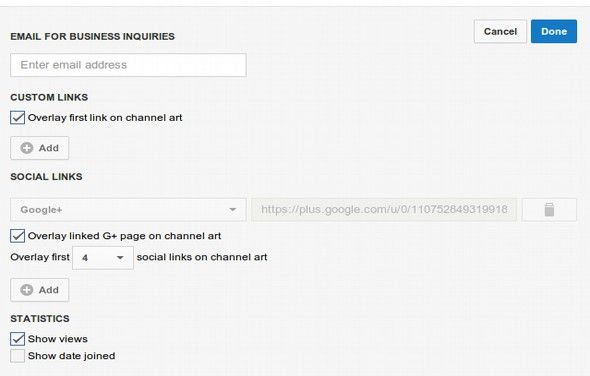
Enter your Gmail address. Then click on the first Add button to add a link to your website over the cover of your YouTube channel. Be sure to copy and paste the full URL in this box. If you have more than one website you want shown, click the Add button again to add another link. Then click Done.
Eliminating Advertisements
If this is an educational or community service channel, you probably do not want to subject your members to Google Ads. Thankfully, there is a way to stop Google Ads from appearing at the beginning of your video. From your Video Manager screen, click on Channel.
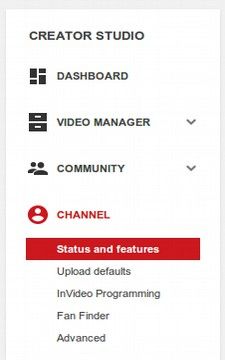
Then click Advanced.
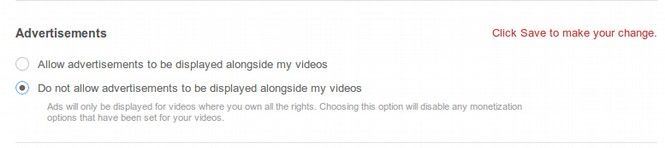
Then click Save at the bottom of this page.
Customize the Appearance of Your YouTube Channel
Now that we have added a Title and notes to our video, and posted it to our YouTube channel, we will customize the appearance of our YouTube channel. To go to your YouTube channel from the video page, just click on the name of the channel – that is just below the name of the video. (In this case, the name of the channel is David Spring).
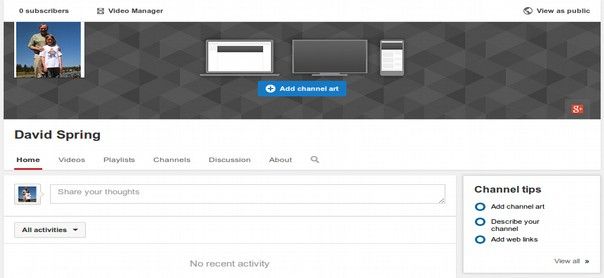
We need to create and add a Channel Art cover image to our channel. We will also add a description for our channel and a link from our channel to our website.
Create and Add YouTube Channel Art Cover Image
Click on the blue Add Channel Art button near the top of your YouTube Channel page. Then click on “How to Create Channel Art” to be taken to a page explaining the process and providing a cool template to help you create this important image. Here is a direct link to that page. https://support.google.com/youtube/answer/2972003?topic=16630&ctx=topic&hl=en
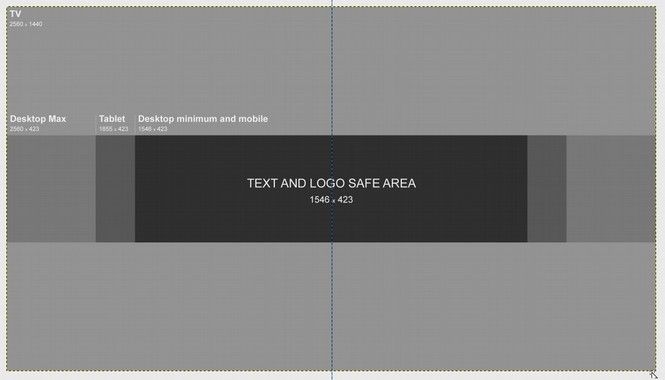
The page explains that desktops, tablets and mobile device screens will have a view space of 1546×423. TV screens will use 2560×1440 which is why the image we need to load for the YouTube cover is so huge. We need to a 2560×1440 pixel image for a TV with another much smaller image centered in the middle of the larger image for all the other viewing screens.
Click on a link called Channel Art Template (photoshop) to download a template. Then click on the template file to open it. Linux opens this template in a free image editing program called GIMP and show the following message.
Click Convert. This is the resulting template image
We can copy this image from the GIMP screen with a screen capture tool and then paste it into a new Libre Writer document. Before you paste it, go to Format, Page and change the page layout to landscape also setting the page margins to 0.50. We can right click on the image to compress the file size. Then right click again to save the image as a PNG image. We can then open the image in a free Linux program called Pinta and make the darkest center box transparent.
Next, we need to find a very large background image and copy paste it on a different page of our Libre Writer document. The image should have a space where text can be easily read in the middle. We next add text and a logo to this image and then place our partially transparent template over this image to check that the text and logo fit in the transparent space. Turn on View Ruler as we will eventually delete the template and we need to know where to take the next screen capture. Here is what the image looks like with the template over the top.
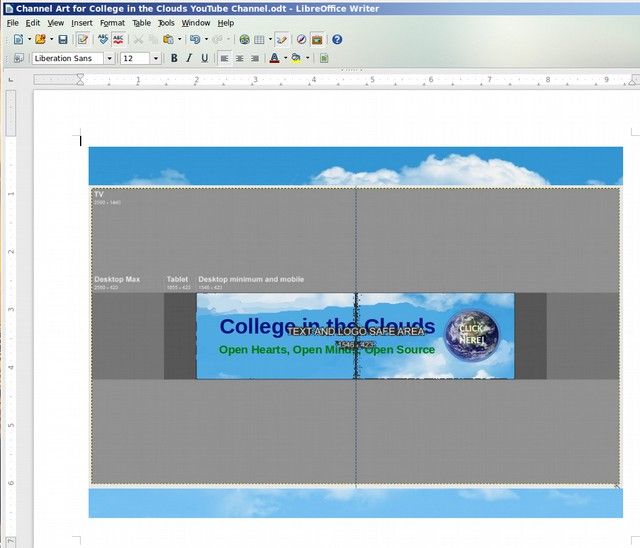
The area we want to capture is the area covered by the gray template. Thus, the width of the screen capture will be the entire blue image and the height of the screen capture will run from the one inch mark in the left side ruler to the six inch mark. Here is what the resulting screen capture image looks like after deleting the gray template.

Right click on this image and compress it. The maximum file size allowed by Google is 2 MB. But really you want the image to be under 100KB.
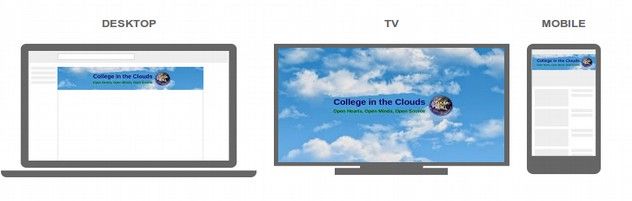
Then right click again and save it. Then open up the image in Fotoxx and increase its size to at least 2560×1440 pixels. Then crop the dimension that is too large to make its size exactly 2560×1440. Name the final image channel_art_2560×1440.jpg. Then load this image to your YouTube channel. Here is what the image will look like on a desktop or laptop or tablet compared to what it will look like on a TV or Mobile phone.
Click Select. Congratulations! You have now loaded your YouTube channel cover art. You have now set up your personal YouTube channel with a link to your website on the cover of your channel.
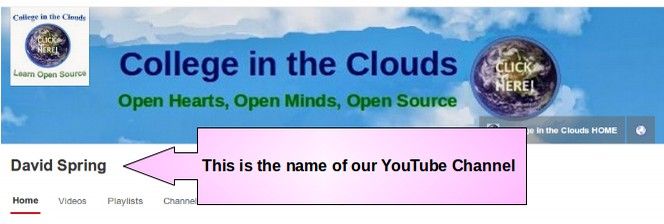
There is just one problem with our personal YouTube channel. The name of the channel is set for our personal name, David Spring, rather than for the name of our business -College in the Clouds. Many folks simply post their business videos on their personal page. But Google allows you to have both a personal YouTube channel and one or more Business YouTube channels. This allows you to post your personal videos on your personal channel and business videos on a custom business channel. We will describe how to set up a Business YouTube channel in our next article.