
Why Create a Business YouTube Channel?
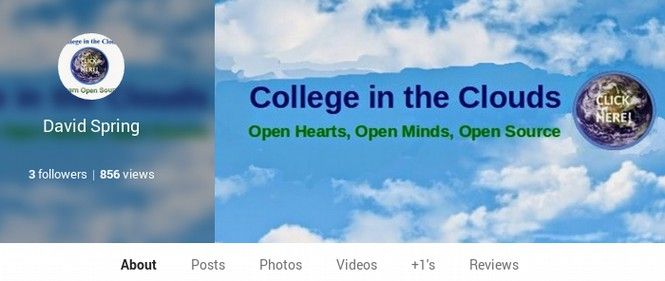
Imagine you are a teacher and want to start your own online educational program. You could simply post your online course videos on your personal YouTube channel. But it is more professional to give your educational program a name, create a website for your program and then create a video channel with the same name. This way, when a viewer clicks on one of your YouTube educational videos, instead of seeing the link to “David Spring” under every video, they see a link to “College in the Clouds” under every video. Just as important, when a person visits your Business Google Plus page, they see and can click on link to your business website. Finally, you may have videos unrelated to your business, If you have two channels, you can post some of them on your personal channel and the rest on your business channel.
In addition, if you have more than one business, you can create more than one Google Plus page and more than one business YouTube channel - so that each business receives its own branding. The only real “catch” is that each business should have its own website, so you should first set up a website for the business before creating a Google Plus Business page and YouTube Business channel for that business.
Setting up a new business website will take more time than actually setting up the YouTube channel for that business. For information on how to set up your business website, see our website called buildyourownbusinesswebsite.org.
If you have already set up a personal Google Plus page and YouTube channel, it does not take more than a few minutes to repeat this process for setting up a Business Google Plus page and Business YouTube channel.
Use your existing Gmail account or set up a new Gmail address for each business?
Because you can add a business Google Plus page to any Google Plus personal account, the simplest option is to go to your personal Google Plus page and click on Pages in the left Side Menu.
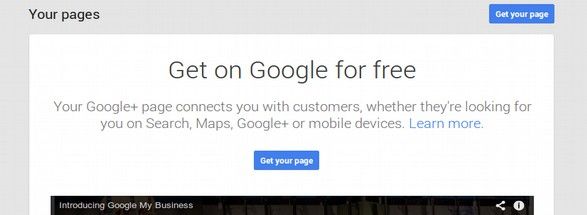
Then click on Get Your Page.
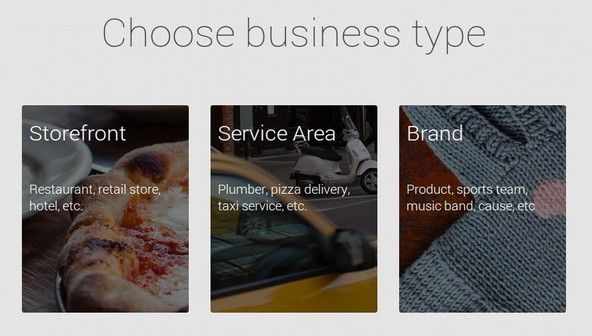
Both Storefronts and Service Area categories are for businesses with a physical presence. For online businesses, including online Education and social causes, you should use the Brand category. But before you click on any of the above options, you should first consider whether you want your business page under your personal Gmail account or whether it would be better to set up a separate Gmail account for your business.
Benefits of a Separate Business Gmail Account
One of the first benefits of a separate business Gmail account is that your business would have its own Gmail address. Instead of folks emailing you regarding a business matter, they could email your business. You could still have these business emails forwarded to your personal email address. Second, you could set up separate Google Circles for your business contacts, customers and students. The videos and conferences would come from your business rather than from you. Third, should you ever decide to sell your business, you merely need to transfer the business Gmail address to the new owner – leaving the business YouTube channel unchanged.
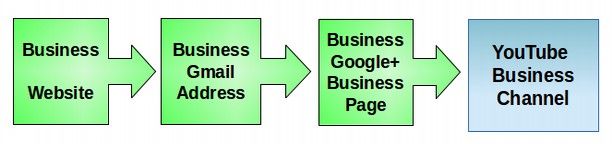
For all of these reasons, we will review the process for setting up a business Gmail address and then using this to create your business YouTube channel. Some of these steps will be a quick review of the steps for setting up a personal YouTube channel. The key difference is that it is much more important to create an interlocking system when setting up a business website, Business Gmail address, Business Google Plus page and Business YouTube channel than when setting up a personal YouTube channel that may or may not be linked to a personal website. Below is a diagram of this interlocking process.
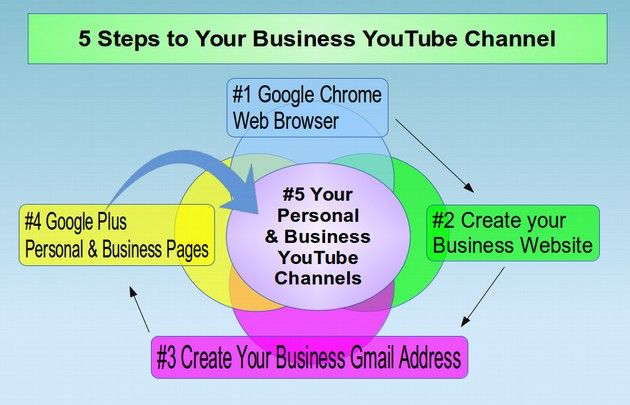
Step #1 Download the Free Google Chrome Web Browser to your home computer
As we have noted in previous articles, you do not want to use the Windows XP operating system as it exposed your personal and/or business computer to hacker attacks. It is shocking that one in four people are still using computers with the Windows XP operating system even though it is no longer supported! In fact, if you care about your business or your data, you really do not want to be using any version of the Windows operating system. One option is to copy all of your documents and data over to a USB jump drive and then replace the Windows operating system with Linux Mint. A second option is to buy an inexpensive Google Chromebook computer with a big display screen. You can get an HP Google Chromebook with a 14 inch screen for about $300. These do not need a fan to cool the computer. This makes them much quieter than a traditional computer and therefore ideal for video conferencing. You can replace the Google Chrome operating system with the Linux Mint operating system – which allows you to use LibreOffice to create documents and work with MS Word documents. For more on this, visit our website: LearnLinuxandLibreOffice.org.
Once you have your computer and access to high speed internet, the next step is to add the free Google Chrome web browser. This involves merely clicking on a couple of buttons and takes under 5 minutes. In addition to making it easier to set up and run your Business YouTube channel, it is much easier to build your website using Google Chrome than using an outdated and unreliable web browser like Internet Explorer.
Step #2 Create Your Business Website
We recommend using a free web building tool called Joomla to build your business website because it has a much better system for organizing images and articles than Wordpress. Be aware that you can combine Wordpress and Joomla websites using the same domain name. So if you already have a Wordpress blog, it is not hard to add a matching Joomla business website to it. For more on how to build a Joomla business website, visit our free course at buildyourownbusinesswebsite.org
Step #3 Create Your Business Gmail Address
This is similar to getting your personal Gmail address. Go to Gmail.com. If you already have a personal Gmail address, the following screen will appear.
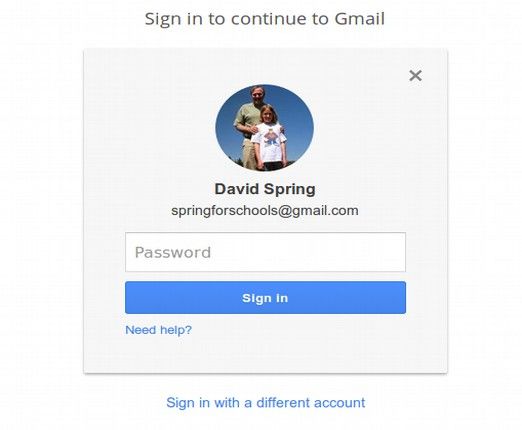
Click on Sign in with a different account. Then click on Add Account. Then click on Create an account.
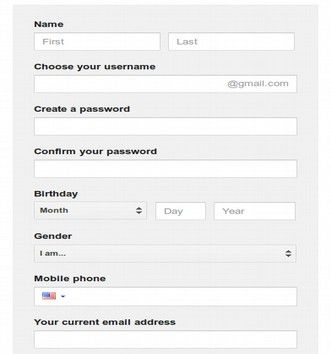
Do not create a fake identity. Instead, use your real name, phone number and most used email address. When choosing your business email address, you may find that the email address you want has already been taken by someone else. Google will try to offer some suggestions.
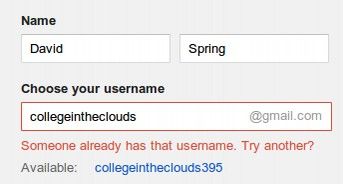
This is similar to choosing your business domain name. So you may want to verify that both the email address you want and the business website domain name you want are both available. You may also want to check YouTube to make sure the Business YouTube channel name is also available. Then take quick action to secure both the domain name and the email address so they match. But if you cannot find a match, don't worry. The website domain name is much more important than the business email address. Since this is mainly to set up a Business YouTube channel, you can just add “channel” to the end of your website domain name and the gmail address will probably be available. Whatever gmail address you decide on, be aware that the personal youtube channel associated with this business gmail address will have the name of the gmail account owner (in the above case, David Spring) rather than the name of the Gmail address (College in the Clouds). We will explain more about this difference in a minute.
For the password, choose something you can remember. Put in real information for the rest of the boxes as these can be used to help you recover your password if you forget it or lose it. Then fill in the Spam filter and click Next Step.
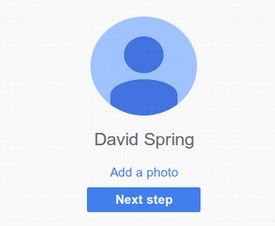
Click Add a Photo to add your personal photo or business logo. The image must be at least 250×250 pixels. Ideally, this image should be a perfect square.
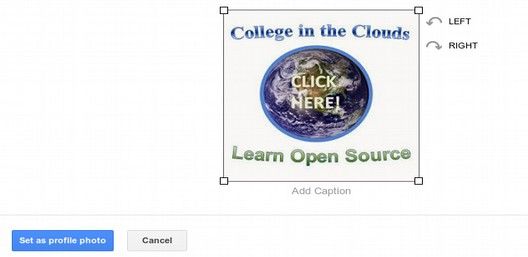
Then click Set as Profile Photo. Then click Next Step. Then click Continue to Gmail.

To forward any mail from this gmail address to your normal email address. Click on the Settings wheel in the upper right corner. Then click on the Forwarding tab and enter the email address you want to forward mail to. Then click Save Changes.
To import your email contacts, the most reliable way is to click on the small arrow to the right of the word Gmail in the upper left corner. Then click Contacts.
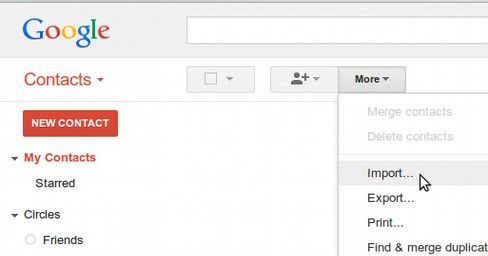
Then click on “More” in the top menu. Then click on Import and import a CSV file that you have exported from your normal email service or your Thunderbird Address book. Once you have imported your contacts, then go to your new Google Plus page associated with this new Gmail address. You can click on the (Your Name +) link near the upper right corner of your email in box. Or you can click on the Social tab in the email inbox where you can open an email called Getting Started with Google Plus.
Click on Go to Google+. The first screen will allow you to add contacts to your Google Plus account. But you can also add them later. Click Continue. The next screen has groups you can follow. Click Continue. The next screen allows you to enter information about where you work and live. Click Continue. The next screen has a Popup offering to tell you about Google Plus. Close the Popup window. You are now at your new Google Plus Home page. You can tell this because it says HOME in the upper left corner of the page. You business logo or personal image should be in the upper right corner of the page. Click on the HOME button to bring up the Google Plus Side Menu.
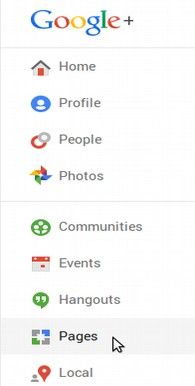
We can first click on the Profiles link and add a cover image to the Profiles page. Recall that the recommended image size for your Profile page cover image is 1080 by 608 and the minimum size is 480×270 pixels. This time instead of using a personal image for our Profile page, we will upload a business image (even though it still has our personal name on the profile page). This will remind us that this personal profile page is actually attached to our business Gmail address.
Next, because what we really want is to create our business YouTube channel, we should click on the Profile tab in the upper left corner of the page and then click on Pages to create our business page.
Click on Get Your Page.

For an online business that does not have an actual physical location, click on Brand.
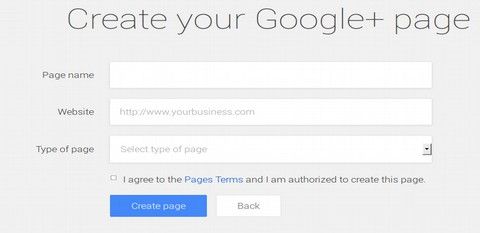
Then use the drop down arrow to select your type of business. The options are Product or Brand, Entertainment, Community or Other. You should also enter your business name and business website here. Then click Create Page. This will bring up a screen called Welcome to Google My Business. Click Get Started. After going through a few links, you will come to your Business page. You should first add a profile photo or logo for your business. This should be about 250×250 pixels.
Then add a cover photo for your business page. The recommended size for the cover image is 1080 by 608 and the minimum size is 480×270 pixels.
Click Change Cover. Then click the Upload link at the top of the page. The upload the image from your computer and drag it into place. Then click Select Cover Photo. Then click Save and Continue. Enter a phone number and click Save and Continue. Enter a sentence about your business. You can select some text and add a link to your business here. Then click Save and Continue. Add a tag line of ten words of less for your business. Then view the resulting Business profile page.

We now have a Business Gmail address and Google Plus Home page. We are now ready to set up our personal and business YouTube channels associated with this Google Plus business email address. Click on the Google Apps box in the upper right corner of this page (It is a box with 9 smaller boxes in it).
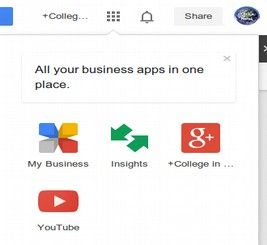
Then click on the YouTube red arrow. Click Next and Save. You will then see a message at the top of the page telling you that you are logged into YouTube with your Google Plus account. Close this message.
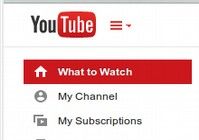
Then click on My Channel in the upper left corner of the page. You will then see a small window that says “Use YouTube as... (Your Name).” You can either click OK and this will set up a personal YouTube channel from which you can add a business YouTube channel. Or if this seems too complex, you can also click on the blue link at the bottom of the screen that says “To use a business or other name, click here.” To keep things simple, we will click on this second option. This will bring up a screen that will allow you three options. You can use your Google Plus personal page or your Google Plus Business page or create a new channel.
We will click on the box for our Google Plus Business page. Then click OK. A screen will appear asking if you want to link your Business channel to your Business page. Click OK.
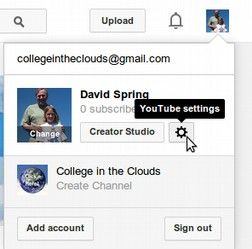
If you already have a Personal YouTube account and you want to add a new business YouTube page to that, you can create a Business Plus page and then go to your Personal YouTube channel and then click on the YouTube Settingsicon in the upper right corner.
This will take you to the Account Settings, Overview Tab.
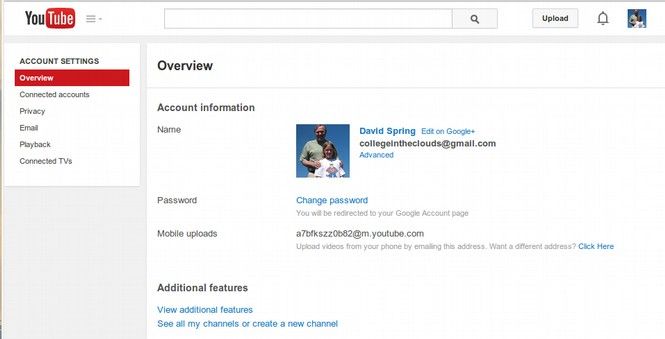
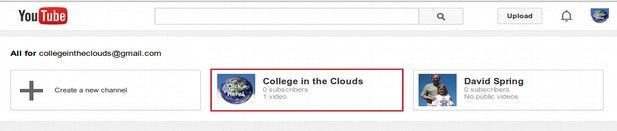
Then click on “See all of my channels or create a new account” at the bottom of this page. This will take you back to the same page where you can create a new YouTube channel or just switch back and forth between the channels you already have.
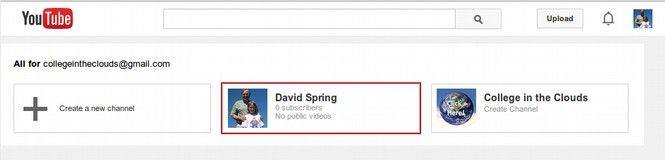
If you have created a Business Page for this account, this will show up as an option.
Click on Create Channel for your Business Google Plus page.

Click OK to see this screen,
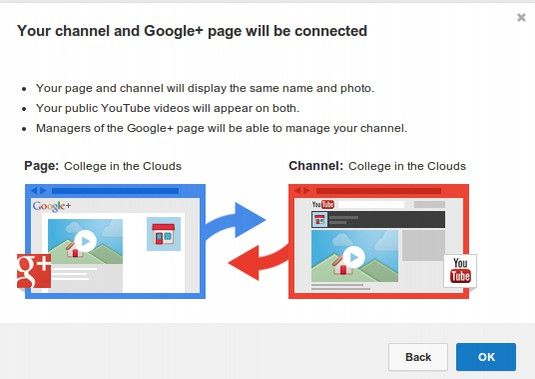
Click OK. It is important to link these to accounts so that whenever you make a Hangouts on Air video with your Google Plus business page, it will be sent to your Business YouTube page.
This next takes you to the Account Overview page for your new business YouTube channel.
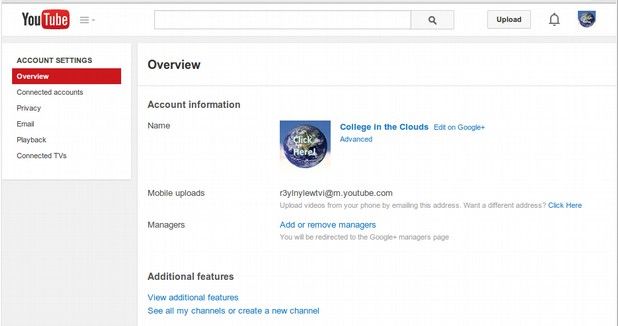
This page looks identical to your personal YouTube Account Settings page. But it is not. You cannot assign a manager to your Personal YouTube page. But your business YouTube channel allows you to assign managers to the account. Click on Add or remove managers.
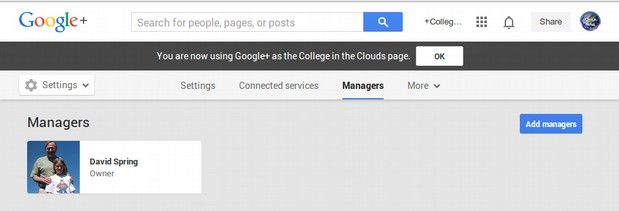
Click Add Manager
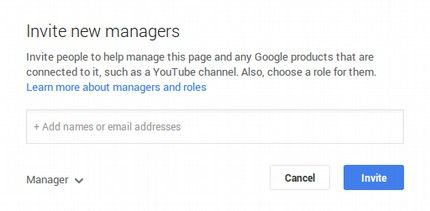
Enter an email address of the person you want to add as a manager of this channel.
Now go back to YouTube College in the Clouds page and click on YouTube, My Channel in the upper left corner.
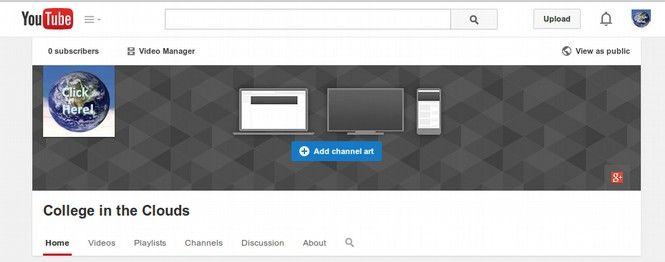
Once you have your business YouTube channel, you next step is creating the channel art for your business YouTube channel. The process is identical to creating channel art for your personal YouTube page. The difference is that now the name of the channel is the name of our business rather than our personal name.
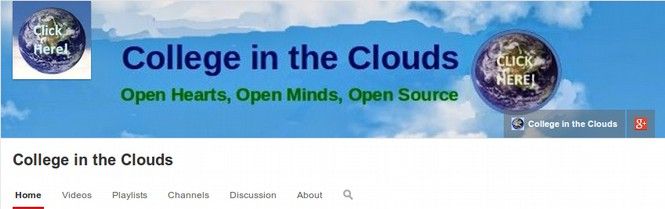
You are now ready to add videos to your Business YouTube channel. That is the subject of our next article.