
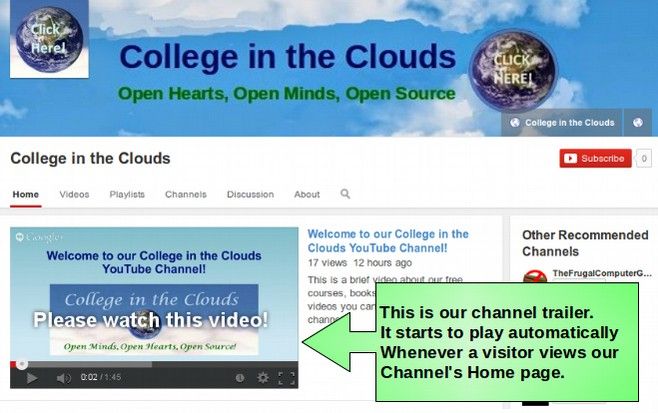
Whenever a viewer of any of your videos clicks on the channel link underneath the video, they will be taken to your channel's Home page. YouTube allows you to make several customizations to your Home page. The most important of these is the creation of an introductory video that YouTube calls the Channel Trailer. This is a video that starts to play automatically whenever anyone visits your channel's Home page. The goal of this brief one minute video is to explain the benefits of your channel, encourage the visitor to subscribe to your channel and watch some additional videos on your channel.
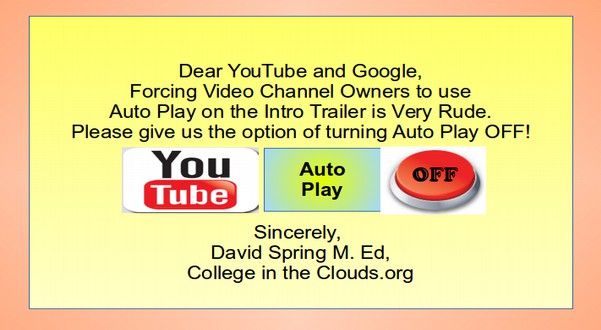
Unfortunately, the shocking effect of having a loud video start playing when you are in the middle of a large library is just as likely to drive a visitor away from your website as it is to get them to subscribe to your website. Even worse, YouTube does not offer us a way to have the video be stopped so that the viewer themselves can decide if and when they want it to start playing. Because of this problem, many website owners simply refuse to use the Channel Trailer. Thankfully, there is another option. In this article, we will show you how to create a “silent” channel trailer that will achieve the goals of explaining the benefits of your YouTube channel and encourage folks to subscribe without subjecting them to the rudeness of a video playing that they did not turn on and did not want to play. The solution is to place a slideshow in this video – much like the silent slideshows placed near the top of many websites.
Create Your Slideshow Text
While the introductory video can be any length, it is generally best to keep it under two minutes. Imagine that you have two minutes to explain to visitors with text and images why they should spend more time watching videos on your YouTube channel. What would you say and what images would you use?
Given that it takes folks about 10 seconds to read a sentence and look at an image, we only have room for about 10 short sentences and 10 images. Here are the 10 sentences for the College in the Clouds YouTube channel slideshow.
Welcome to the College in the Clouds Channel
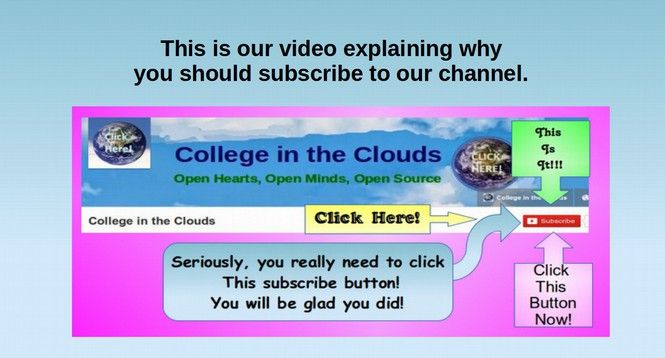
This is our video explaining why you should subscribe to our channel.
We have made it a silent video because Google forces us to set it for Autoplay...
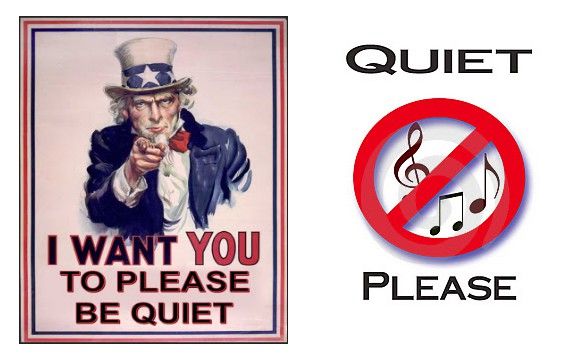
And we do not want the sound to disturb those near you in case you are in a library.
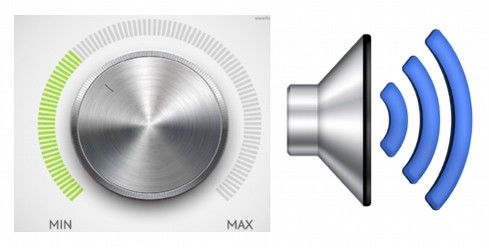
So do not worry. There is nothing wrong with your volume control!
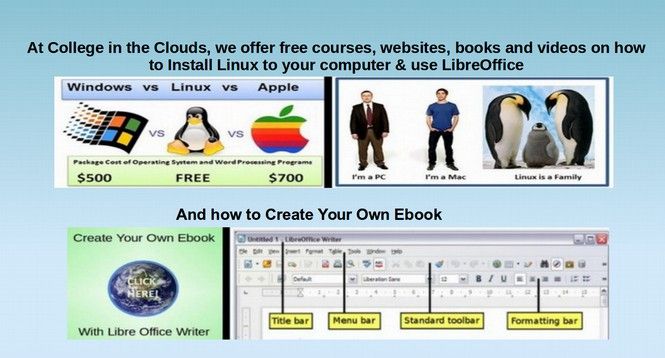
At College in the Clouds, we offer free courses, websites, books and videos on how to
Install Linux to your computer & use LibreOffice and Create Your Own Ebook...
And Build Your Own Business Website... And Create Your Own Video Channel.
Sound interesting? Subscribe to our channel and keep up with new videos as we post them.
You can also go to our website, Collegeintheclouds.org to learn more about our free courses, websites, videos and books!
And in case you forgot, please click on our subscribe button to keep up on new videos as we post them!
Create your Slideshow Images
Images are extremely important. Many viewers will not even read the text. But interesting or funny images can motivate them to want to learn more. Keep in mind that the screen size ratio will be set for 16 by 9. The text will take up some of the height. So your images should be much wider than they are tall. Below are the images associated with the text in our introductory slideshow. There are 10 sentences and 10 images.
#1 Welcome to the College in the Clouds Channel

#2 This is our video explaining why you should subscribe to our channel.

#3 We made this a silent video because Google forces us to set it for Autoplay
#4 We do not want the sound of this video to disturb those near you in case you are in a library.
#5 So do not worry. There is nothing wrong with your volume control!
#6 At College in the Clouds, we offer free courses, websites, books and videos on how to Install Linux to your computer & use LibreOffice
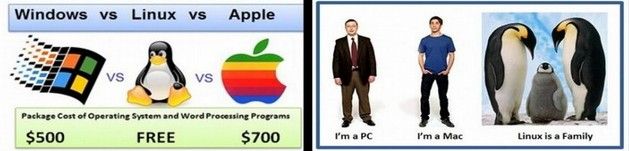
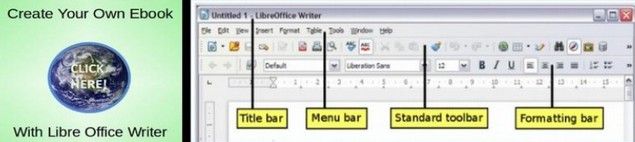
And how to Create Your Own Ebook
#7 And how to Build Your Own Business Website
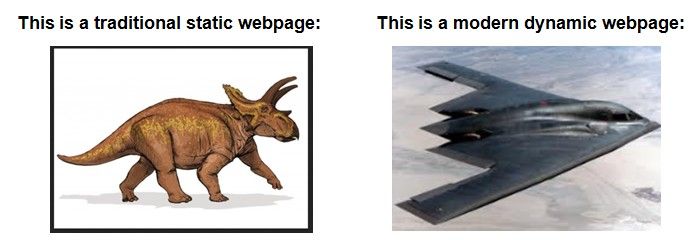
And create Your Own Video Channel.

#8 Sound interesting? Subscribe to our channel and keep up with new videos as we post them.
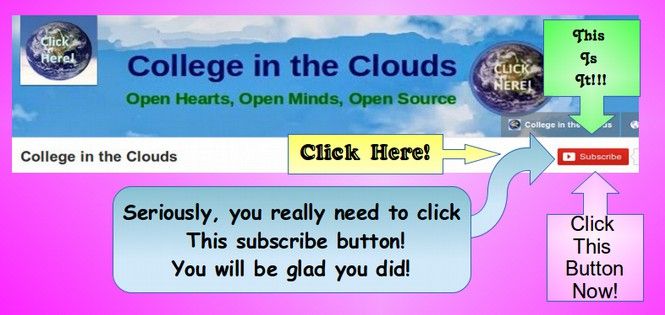
#9 You can also go to our website, Collegeintheclouds.org to learn more about our free courses, free websites, free videos and free books!
#10 And in case you forgot, please click on the Subscribe button!

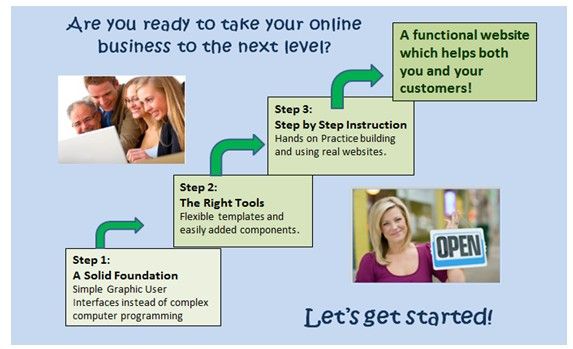
Create Your Slideshow
There is a free graphics creation tool called Libre Draw that we used to create all of the above graphics. Some of the images were first converted to transparencies using a free image editing tool called Pinta. For transparencies to work, these images were saved as PNG images. All of the rest of the images were JPG.
We then used a free screen capture tool called Shutter to capture these images. We then pasted the images into a Libre Writer document. This allowed us to right click on the image and compress its file size. We then save the images to a slideshow images folder. Next, we used another free program called Libre Impress to convert the images and text into a slideshow. The key point is to format the slideshow page so that it is 16×9.
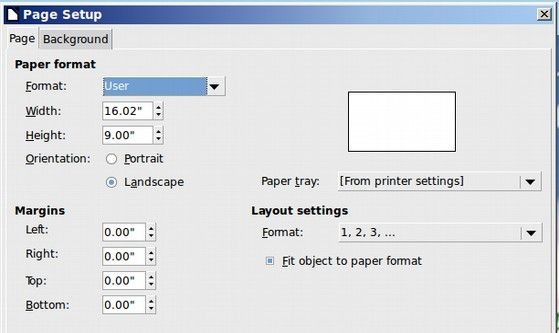
The slideshow was set for the default setting because during the video, we will be showing it in full screen mode. Below is what a few of the slides looked like when we were done. Here is the first slide.

Here is the second slide
Some slides had more than one image and sentence.
Naturally, the final slides were used as a “Call to Action.” We then added some transition effects to keep the slideshow interesting.
Turn your Slideshow into a Video
Once the slideshow is done, the next step is to create Hangouts On Air to convert the slideshow into a video. There are a couple of minor challenges to this process. But it is a great way to produce well planned tutorials either with or without the voice over.
First, log into your Gmail Business account and go to Google Plus Business page – not your Google Plus personal page! In your Gmail Inbox page, or your Google Plus page, click on the icon in the upper right corner. Here you will see both Google Plus pages:
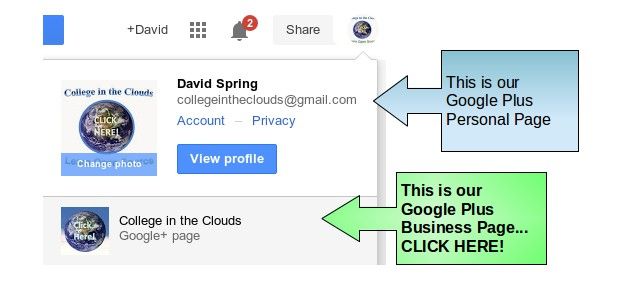
This will take you to your Google Plus Business Home page. In the left side menu, click on Hangouts. Then click on Hangouts on Air to start a new Hangout on Air. Give it a title like “Welcome to our YouTube Channel.” and type in a one sentence description. These can both be changed later. This time, invite the public to view the video and click Share.
This takes us to an Events page created for this video. You can use the channel art cover image for your YouTube channel as the Trailer image for this video. Set a theme as we described in the last article. Then click Start.
Create a Second Gmail and Google Plus Account and Use Two Computers
This will take us to a screen where we can invite Guests to the video. This is where things require some imagination. The problem is that when we play the video in full screen, we will not be able to turn the video broadcast on or off. So we will need two computers to create this slideshow video. One computer will be used to host the video and the other computer will be used to “screenshare” the slideshow. These computers should at least be located in separate rooms to prevent audio feedback problems. In fact, the computers can be located in separate States! That's the beauty of the Internet. So we want to email the slideshow to another person and then invite that person to be a guest for our Hangout on Air. In our case, we simply used two different computers that were in different rooms.
Enter their Gmail address on the Invitation screen. As the host, you will then be taken to the Hangouts on Air Green Room. Copy the link to the video and email that to your Guest also. As the Guest, click on the email link when you get it and this will take you to the Hangouts on Air Green Room.
Neither person will show in this video and we do not want any sound. So the Host should turn off the Google Toolbar app and use the Control Panel to Mute the sound on both computers.
The Guest clicks on the Green Screenshare icon in the left side menu and selects the full screen option and clicks on Start Screenshare.
The Host then selects the Guests box in the bottom panel (called the film strip for some reason). Once the screen is set, the Host let's the Guest know when the Broadcast has started and the Guest plays the slideshow. When the slideshow is over, the host ends the broadcast and hangs up turning off the video.
Show a Slideshow using Slideshare or Google Apps?
If you or your guests wants to share a screen during a recorded Hangout on Air, it is a good idea to have practiced this ahead of time in a non-recorded Video Hangout. There is a free application called Slideshare in Google Hangouts. Or you can share any documents and slideshows or images you have previously loaded into Google Drive. However, the most reliable option is to simply share either your entire desktop screen or a Window open in your desktop that is running the slideshow, such as LibreOffice Impress. The only problem with sharing your desktop is that it make be cluttered with distractions. It is therefore a good idea to clean up and put away all of the documents on your desktop and move all of the applications into the bottom panel and open the slideshow and sizing it to the portion of the screen you want to use before the video conference starts. It is also a good idea to go to your computer's Control Center and change the background image of your desktop to black (or some other solid color).
If you want to display the slideshow menu, it is also a good idea to hide any un-needed tool bars. In the top menu, click on View, Toolbars and then uncheck all of the toolbars. To show the slideshow in the Window, open the Libre Impress Slideshow and click on Slideshow in the top menu. Then click on Slideshow Settings. Then change the Type from Default (which is full screen) to Window (which will show the slideshow in the window). Then click Save and Close. Now when you click Slideshow, Start from first slide, the slideshow will start in the window and you will still have access to your desktop.
To practice your slideshow, after going to your video conference green room, click on the green screen share button. This will bring up a Window showing all of the open windows on your desktop. Select the Slideshow, then click on Start Screen Share. It can be rather confusing because you need to see your slideshow to control it. But you also need to see your video conference screen. The solution is to reduce the size of the video conference screen window and the slideshow window so that they are side by side. Then click on Slideshow, Start from first slide. You can advance the slides by clicking Enter on your keyboard. To end a full screen slideshow, press Escape on your computer keyboard. To end the screen share, press the green Share icon on the left side of your Google Hangout video screen.
Then, either the Host or the Guest can post the video to our YouTube channel Home page. There are a few special tips for making this work right. That is the subject of our next article.